If you're diving into the world of botanical art, detailed drawings of roses are an absolute must-master skill. Roses have been a timeless symbol of beauty, love, and elegance, and capturing their intricate details is both an art and a science. Whether you're a beginner or an experienced artist, learning how to create stunning rose illustrations can elevate your portfolio and express your creativity in ways you never imagined.
There's something magical about drawing roses. Each petal, each curve, and every tiny detail tells a story. From delicate watercolor sketches to bold pencil drawings, roses offer endless possibilities for artistic expression. So, if you're ready to take your skills to the next level, stick around because we're about to dive deep into this captivating subject.
This guide will walk you through everything you need to know about creating detailed drawings of roses. We'll cover the basics, advanced techniques, tools you'll need, and even share some tips from professional artists. By the time you finish reading, you'll be equipped with the knowledge and inspiration to create rose masterpieces that will leave everyone in awe.
- Chief Game Time The Ultimate Guide To Mastering The Art Of Gaming Leadership
- Chipotle Christmas Ornament The Ultimate Holiday Spice
Why Roses Are a Popular Subject for Artists
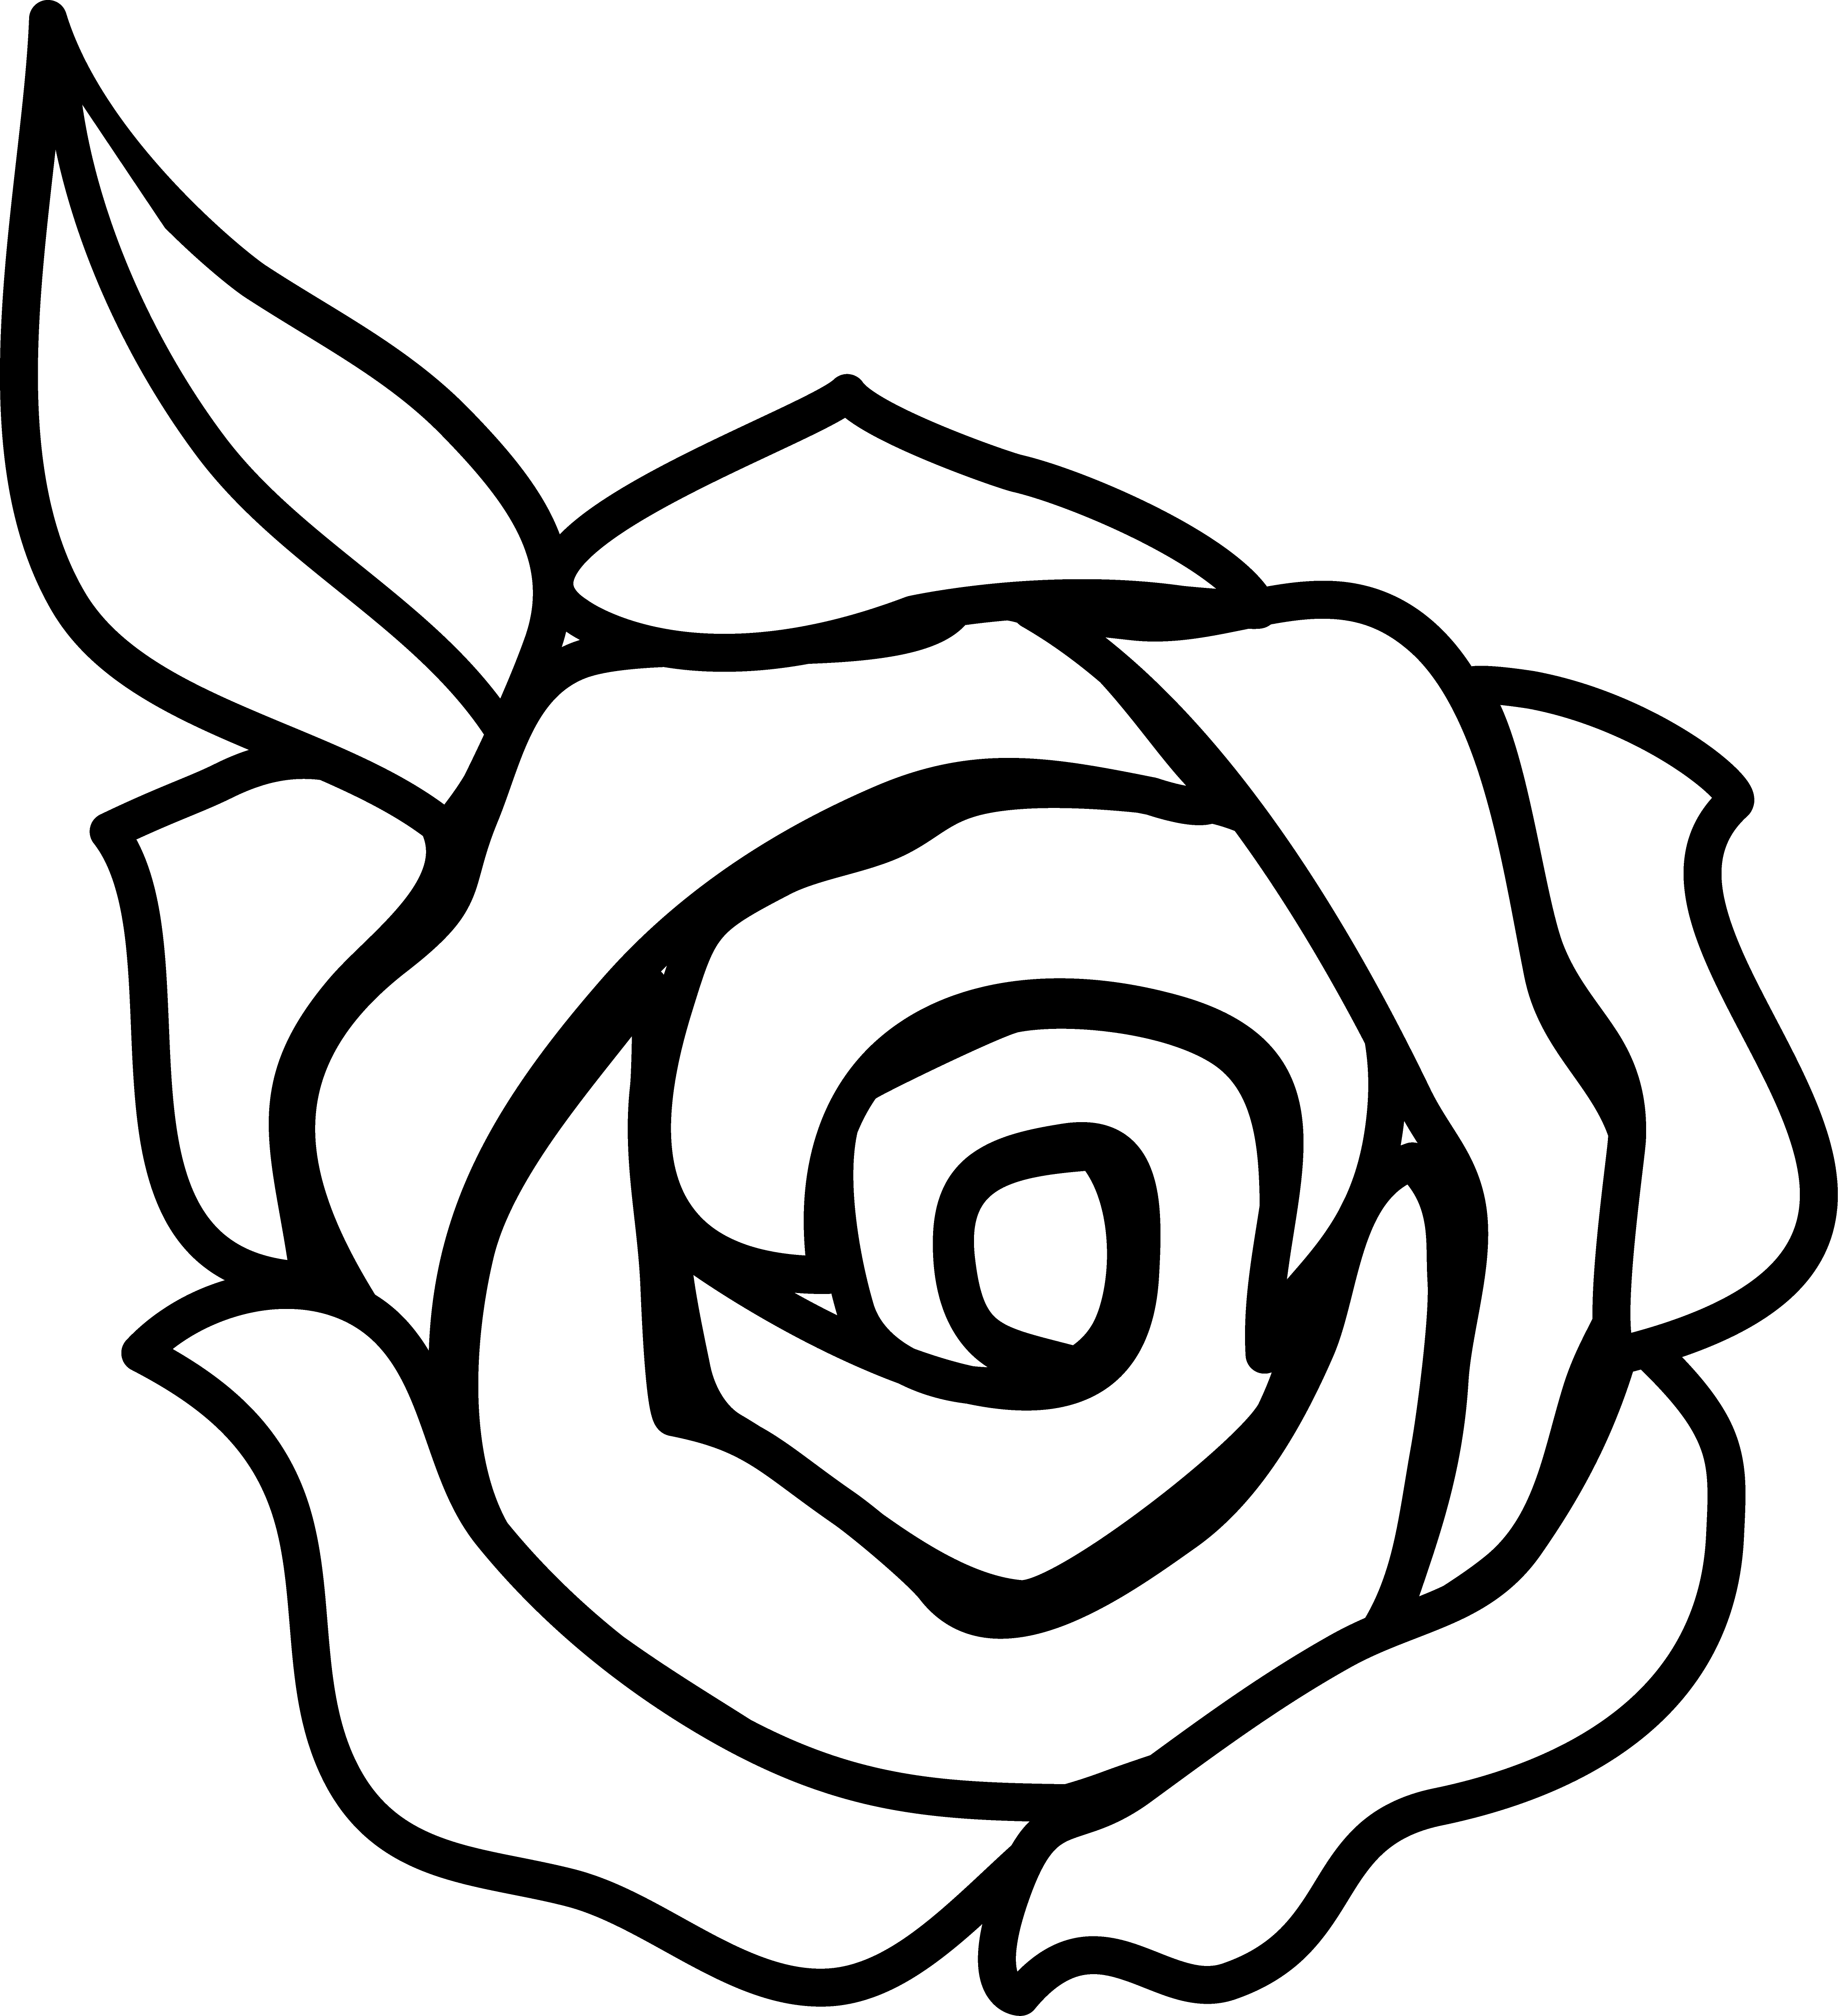
Roses aren't just flowers; they're icons. They've been inspiring artists for centuries, appearing in everything from Renaissance paintings to modern digital art. But why are they so popular? First off, roses are incredibly versatile. You can draw them in any style, from minimalist line drawings to hyper-realistic watercolor paintings. Plus, their layered petals and unique shapes make them a challenging yet rewarding subject to tackle.
What Makes Roses So Intriguing to Draw?
Here’s a quick breakdown of what makes roses stand out as an artistic subject:
- Complexity: Roses have layers upon layers of petals, each with its own texture and shape.
- Variety: There are hundreds of rose varieties, each with distinct colors and forms.
- Symbolism: Roses carry deep emotional meaning, which adds a layer of storytelling to your artwork.
Whether you're aiming for realism or abstraction, roses provide endless opportunities to experiment with form, color, and technique.
- Jd Vance Married The Untold Story Behind His Love Life And Journey
- Haircut Short Back Longer Front The Trend Thats Taking Over
Getting Started: Tools for Detailed Drawings of Roses
Before you put pencil to paper (or brush to canvas), you'll need the right tools. Here's a list of essentials that will help you create stunning rose illustrations:
- Pencils (various grades like HB, 2B, 4B)
- High-quality sketchbook or drawing paper
- Eraser (kneaded and standard)
- Blending tools (stumps or tortillons)
- Colored pencils or watercolors (optional)
Investing in quality materials is key to achieving professional results. Don't skimp on your supplies—trust me, it makes a difference.
Choosing the Right Paper
When it comes to paper, texture matters. For pencil drawings, look for smooth surfaces that allow fine details to shine. If you're working with watercolors, choose cold-pressed paper to handle moisture without warping. Experiment with different textures to find what works best for your style.
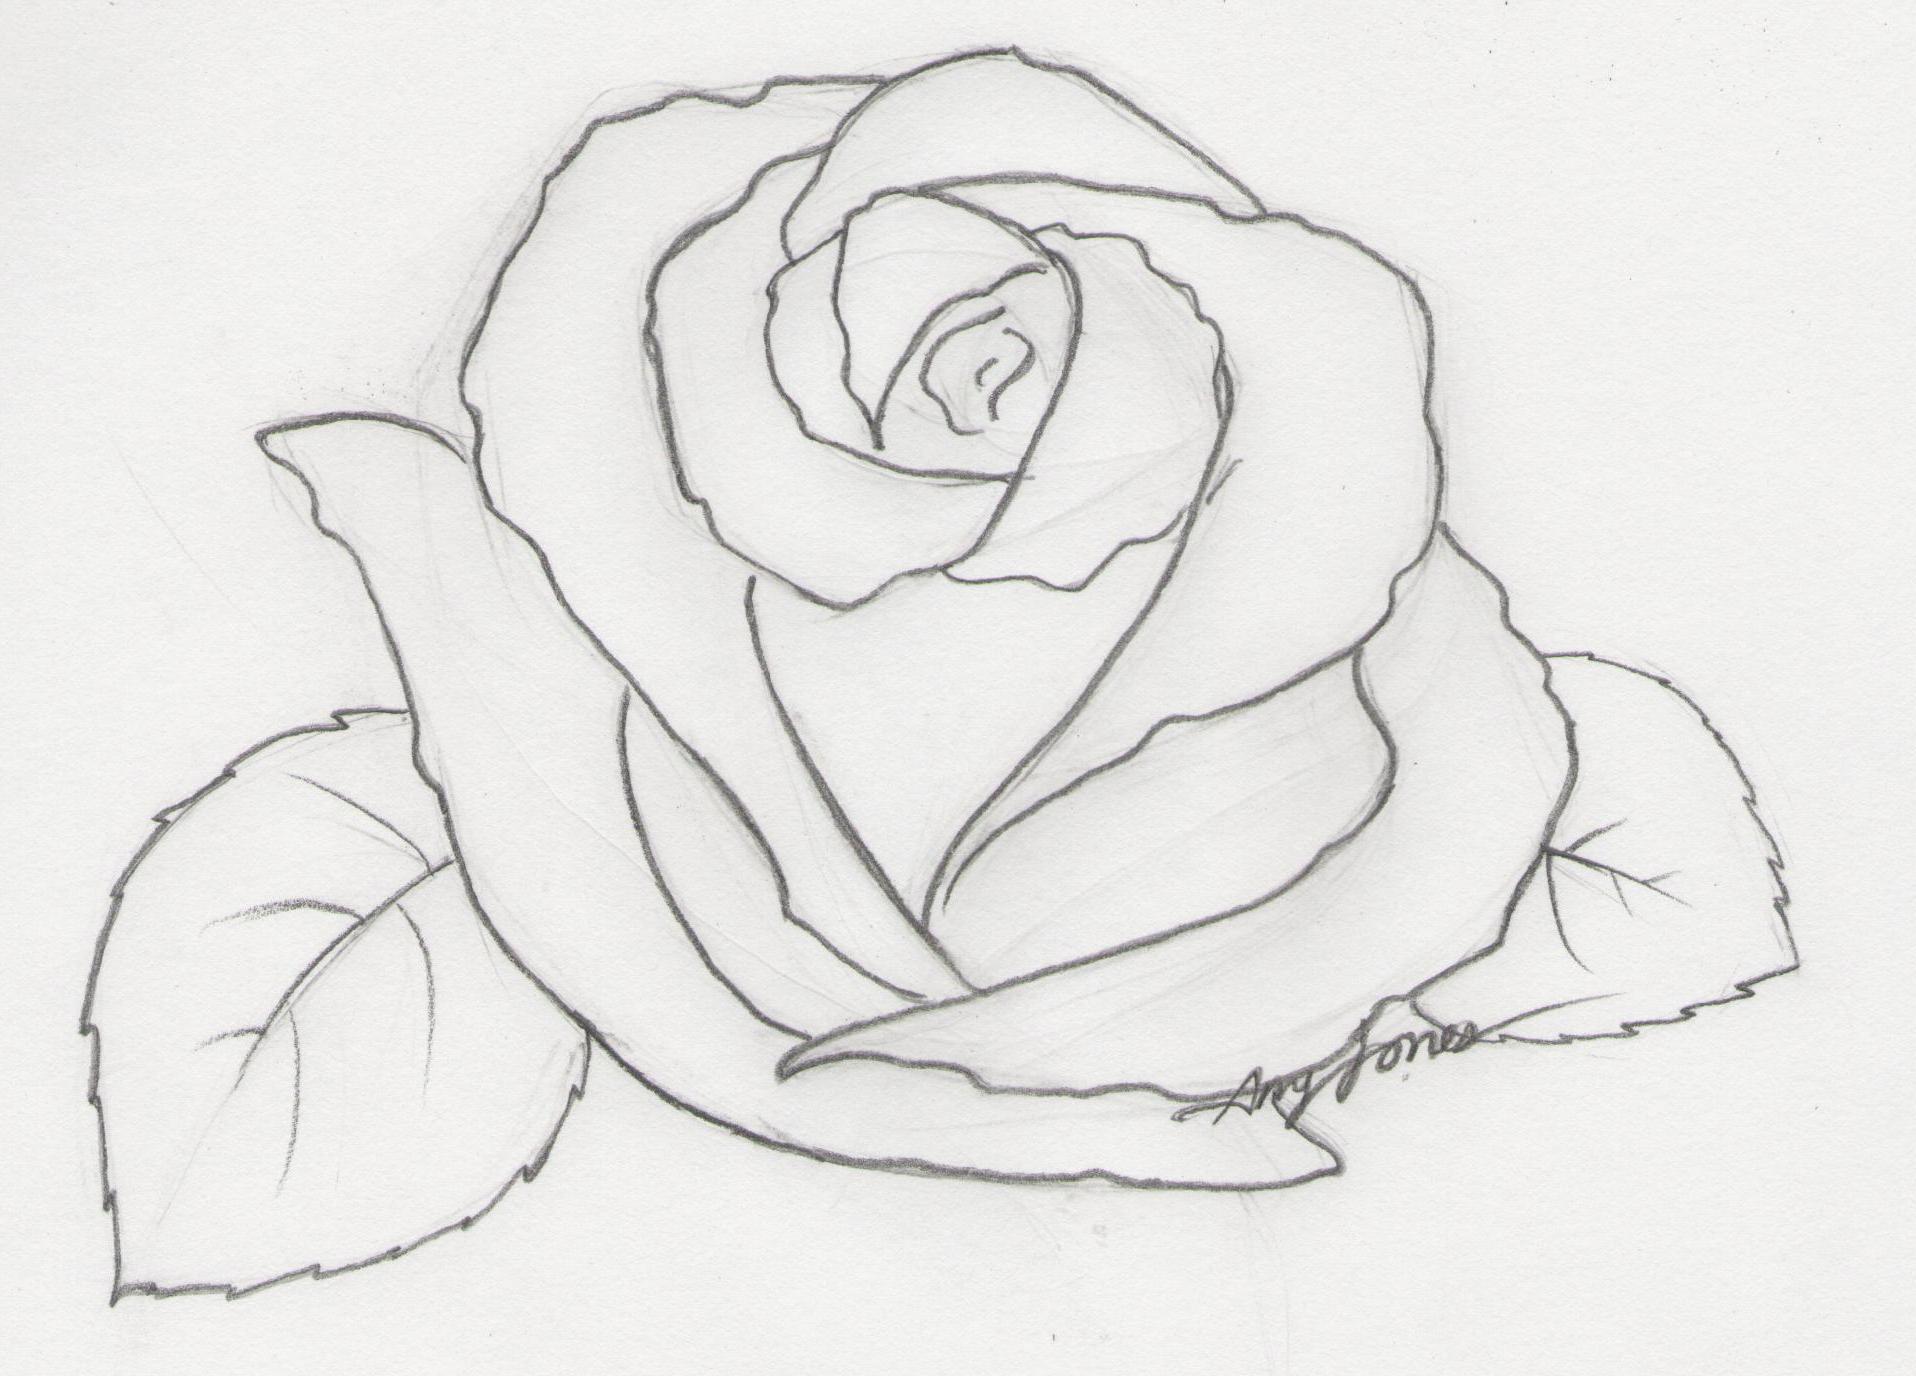
Understanding Rose Anatomy
To draw realistic roses, you need to understand their structure. Roses aren't just random blobs of petals—they follow a specific anatomy. Let's break it down:
- Petals: The star of the show. Pay attention to how they overlap and curve.
- Sepals: Small leaf-like structures at the base of the flower.
- Stem: Look for thorns, texture, and subtle curves.
- Leaves: Don't forget the foliage! Leaves add depth and balance to your composition.
Studying real-life roses or high-resolution photos can help you grasp these elements better. Observation is half the battle when it comes to creating detailed drawings of roses.
Pro Tip: Study Real Roses
Nothing beats hands-on experience. Grab a fresh rose or visit a garden to observe its nuances up close. Notice how light interacts with the petals, creating shadows and highlights. This firsthand observation will enhance your understanding of rose anatomy and improve your drawings significantly.
Basic Techniques for Drawing Roses
Now that you have your tools and knowledge, let's dive into the drawing process. Start with basic shapes and gradually build complexity. Here's a step-by-step guide:
- Sketch a rough outline of the rose using light strokes.
- Add layers of petals, focusing on their arrangement and curvature.
- Refine your lines and define the edges of each petal.
- Shade the petals to create depth and dimension.
- Add final touches like highlights and texture.
Remember, practice makes perfect. Don't get discouraged if your first attempts aren't flawless. Keep experimenting and refining your technique.
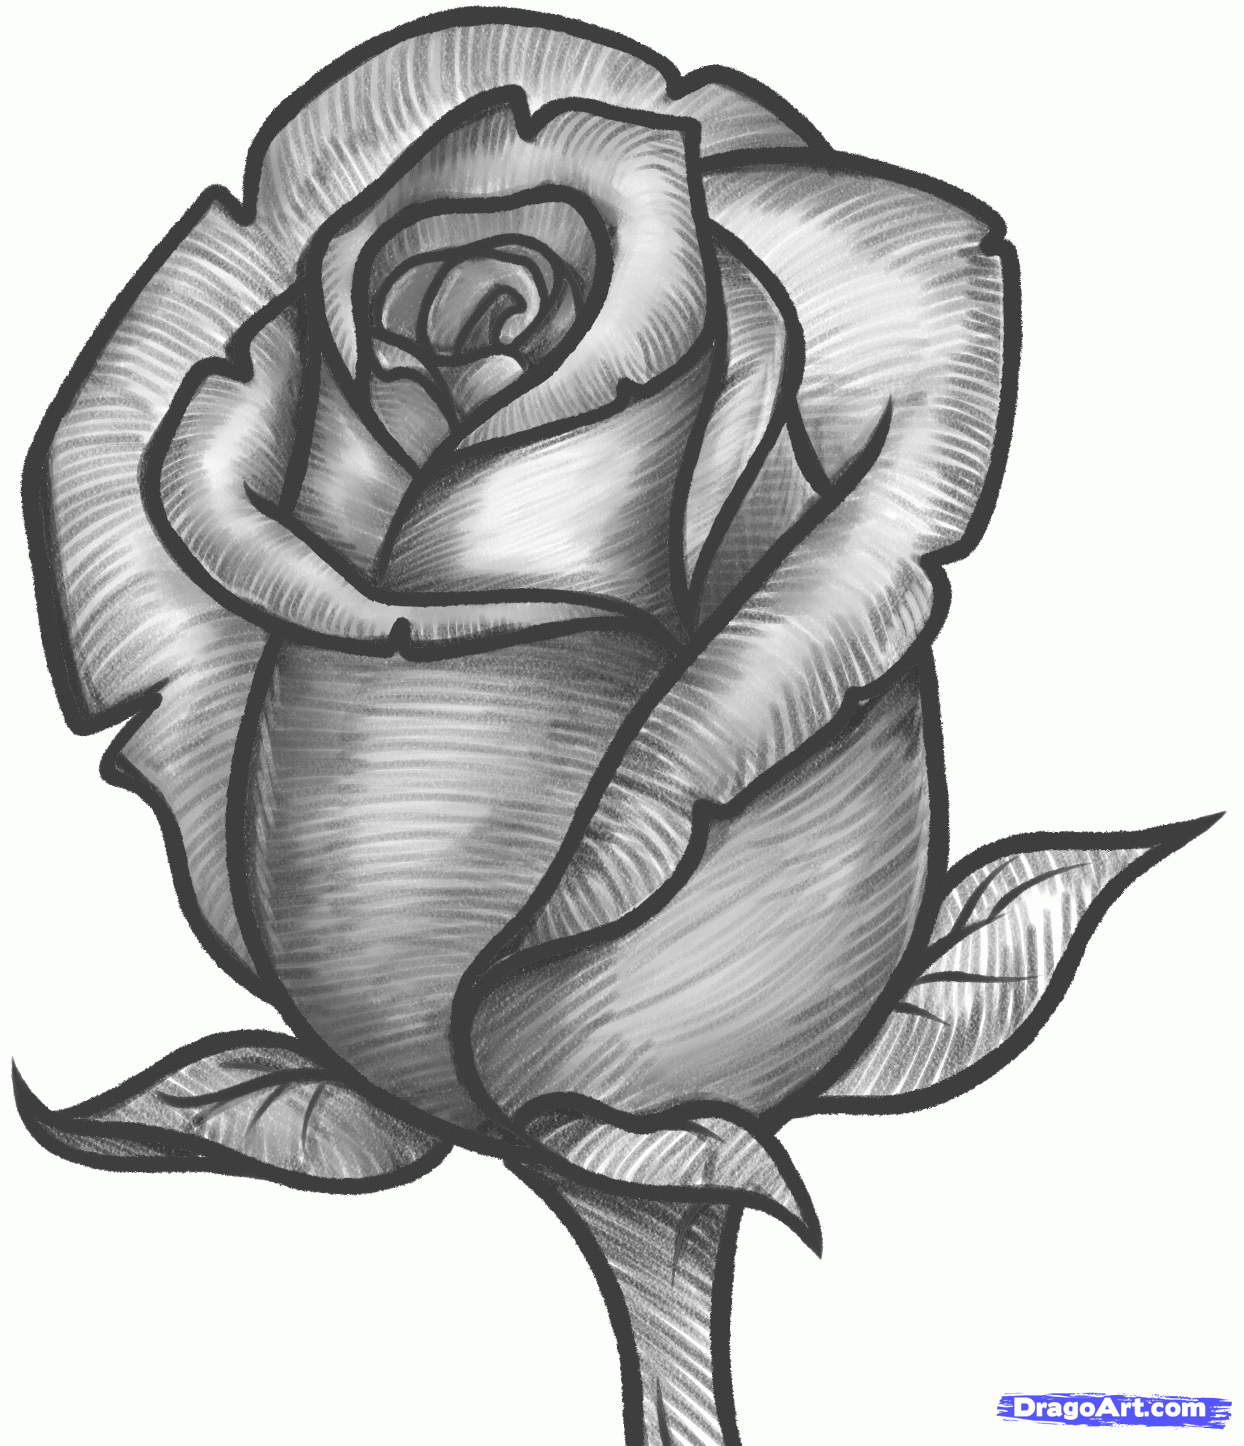
Shading Techniques for Realism
Shading is crucial for bringing your roses to life. Try these techniques:
- Hatching: Parallel lines to create tone.
- Cross-hatching: Crossing lines to build up darker areas.
- Stippling: Tiny dots for a textured effect.
Experiment with these methods to find what works best for your style. Mixing techniques can add richness and complexity to your drawings.
Advanced Techniques for Detailed Drawings of Roses
Once you've mastered the basics, it's time to level up. Advanced techniques can take your rose drawings from good to extraordinary. Here are a few tips:
- Focus on Texture: Use cross-hatching and stippling to capture the velvety feel of petals.
- Play with Light and Shadow: Experiment with different lighting setups to create dramatic effects.
- Incorporate Backgrounds: Adding a background can enhance the overall composition and add context to your artwork.
Professional artists often incorporate these techniques to create depth and realism in their work. Don't be afraid to push boundaries and try new things.
Color Theory for Rose Illustrations
If you're working with color, understanding color theory is essential. Consider the following:
- Complementary Colors: Use opposing colors on the color wheel to create contrast.
- Warm vs. Cool Tones: Balance warm and cool shades to add dimension.
- Layering: Build up colors gradually to achieve rich, vibrant hues.
Color can completely transform the mood of your artwork. Spend time experimenting with palettes to find what resonates with you.
Common Mistakes to Avoid
Even the best artists make mistakes. Here are a few pitfalls to watch out for:
- Overworking the Drawing: Too much detail can make your artwork look cluttered.
- Ignoring Proportions: Ensure all elements are in proportion to create a harmonious composition.
- Skipping Observation: Don't rush the observation phase—take your time to study the subject.
Learning from your mistakes is part of the artistic journey. Embrace them as opportunities for growth and improvement.
How to Stay Motivated
Art can sometimes feel like a solitary pursuit, but staying motivated is key to success. Here are some tips:
- Set Goals: Break your projects into manageable steps and celebrate small victories.
- Join Communities: Connect with other artists online or in person to share ideas and feedback.
- Experiment Freely: Don't be afraid to try new techniques or styles—it's all part of the learning process.
Remember, every artist starts somewhere. Keep pushing forward, and you'll see improvement over time.
Inspiration from Professional Artists
Looking to professionals can provide valuable insights and inspiration. Artists like Georgia O'Keeffe and Albrecht Dürer have created iconic rose illustrations that continue to influence artists today. Study their works to understand what makes them timeless and impactful.
Lessons from the Masters
What can we learn from the greats? Here are a few takeaways:
- Attention to Detail: Masters like Dürer paid meticulous attention to every element of their subjects.
- Emotional Connection: O'Keeffe's work often conveys deep emotion through simplicity and form.
- Experimentation: Don't be afraid to explore new mediums and techniques to find your unique voice.
Studying the masters can inspire you to push your own boundaries and create something truly special.
Conclusion: Your Journey Begins Here
Drawing detailed roses is a journey of discovery and creativity. From understanding anatomy to mastering techniques, every step brings you closer to creating stunning artwork. Remember, the key to success lies in practice, patience, and passion.
So, what are you waiting for? Grab your pencils, paper, and a fresh rose, and let your imagination run wild. Share your creations with the world, and don't forget to leave a comment or connect with fellow artists. Together, we can grow and thrive in the beautiful world of botanical art.
Table of Contents
- Why Roses Are a Popular Subject for Artists
- Getting Started: Tools for Detailed Drawings of Roses
- Choosing the Right Paper
- Understanding Rose Anatomy
- Pro Tip: Study Real Roses
- Basic Techniques for Drawing Roses
- Shading Techniques for Realism
- Advanced Techniques for Detailed Drawings of Roses
- Color Theory for Rose Illustrations
- Common Mistakes to Avoid
- How to Stay Motivated
- Inspiration from Professional Artists
- Lessons from the Masters
- Conclusion: Your Journey Begins Here
- Aitana Bonmati Height The Rising Star Of Spains Music Scene
- Why Did Linda In Blue Bloods Leave Unpacking Her Departure And Impact